How to Make Self-Watering 5-Gallon Buckets That Actually Work (Even When Life Gets Crazy)
Another dried-up tomato plant. Another wave of guilt. Another reminder that you can’t seem to keep up with the simplest gardening task: watering.
You watch others post their thriving gardens while yours look like a botanical graveyard.
Here’s the truth: it’s not about remembering to water. It’s about building systems that water themselves.
The Gardening App that Thinks Ahead,
so you’re never behind
Never forget another gardening task or get blindsided by bad weather and pests again. Growing made Easy

Key Points
- Build once, water less: A self-watering 5-gallon bucket uses a reservoir and wicking chamber to keep soil consistently moist — cutting watering from daily to weekly.
- DIY costs under $15: With two buckets, a fill tube, and simple tools, you can build your own system in one afternoon — no fancy materials or power tools required. Short on time? Get GroBucket inserts and save hours
- Use the right soil mix: Standard potting soil is too dense. Use a blend of 40% peat or coir, 40% compost, and 20% perlite for proper moisture flow.
- Overflow holes matter: Drill them 3″ up from the bottom to prevent root rot from overwatering or heavy rain — especially important in outdoor setups.
- Test one, then scale: Start with a single bucket and your thirstiest plant (like a tomato). Once it works, expand your system with confidence.
Don’t Want to DIY? Try the GroBucket Insert
If you’re short on time or just want something you can drop in and go, the GroBucket insert is a game-changer. It turns any standard 5-gallon bucket into a self-watering system — no drilling, no cutting, no assembly required.

The GroBucket insert turns any standard 5-gallon bucket into a complete self-watering system — perfect for busy gardeners who want plug-and-play watering without the DIY effort.
Here’s why it works:
- Built-in reservoir and fill tube
- Wicking cone that pulls water up as plants need it
- Fastest way to test a self-watering setup with zero learning curve
- Ideal for busy gardeners who want results without the mess
It costs more than a DIY build, but saves you hours. If you’ve got a toddler on your hip and no drill in the garage, this is definitely your move.
This guide walks you through exactly how to build a self-watering 5-gallon bucket system — step by step.
Why a Self-Watering 5-Gallon Bucket System Is a Game-Changer
You’ve already learned how to drill drainage holes and pick the right soil. But when life happens — sick kids, weekend plans, or plain exhaustion — watering is the first thing to fall off.
Self-watering 5-gallon buckets fix that. They don’t just hold water — they hold your garden together when your schedule unravels.
The Real Cost of Skipped Watering

Miss a watering, and your plant might wilt. Miss two, and it might not come back. Water stress leads to blossom end rot, dropped flowers, bitter fruit — and wasted weeks of growth.
Once stressed, plants rarely bounce back fully. That one forgotten weekend just cost you pounds of produce.
But it’s not your commitment that’s lacking — it’s your system.
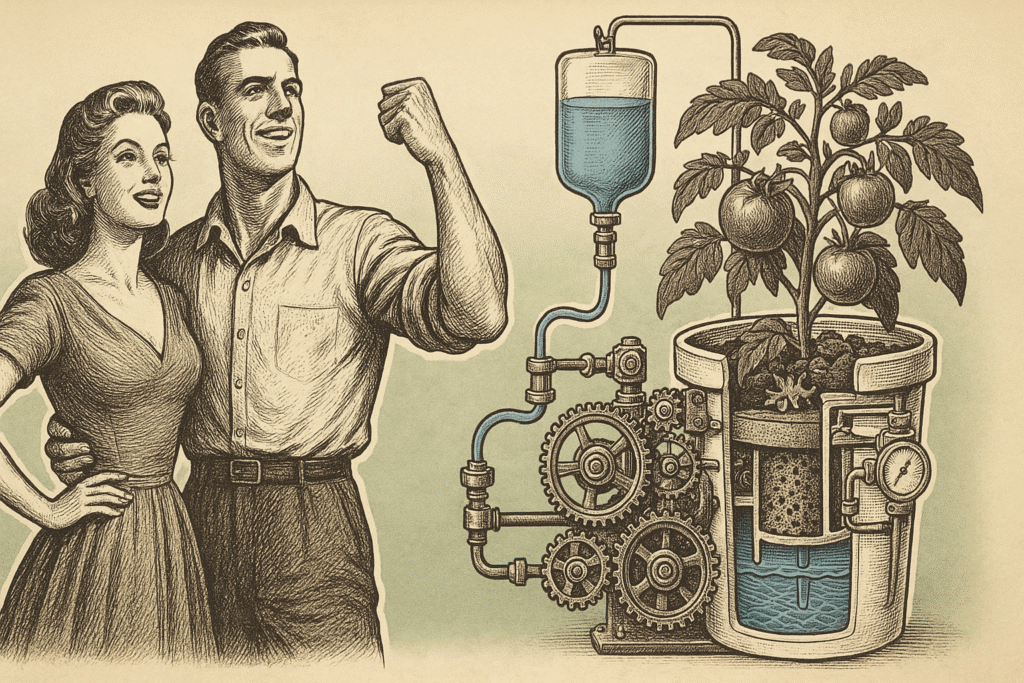
Self-Watering Systems Solve the Right Problem
Self-watering systems use a reservoir and wicking chamber. The soil draws water up as it dries — giving plants exactly what they need, when they need it. You go from daily worry to weekly check-ins.
This isn’t lazy gardening. It’s smart gardening for real life. It’s a system built to succeed even when you’re in survival mode.
Why 5-Gallon Buckets Are Perfect Busy Families
A store-bought self-watering container runs $50–$100. Your DIY version? Under $15.
Plus, buckets are easy to move, quick to build, and ideal for tight spaces. They’re the ultimate starter system for moms who need low-maintenance wins.
And when you group them together by plant type or water needs, you create micro-zones that simplify your whole watering strategy.
How to Build Your First Self-Watering 5-Gallon Bucket System
Ready to swap stress for simplicity? This version takes just one bucket and a few cheap parts — no fancy cuts or power tools required. If you can drill 2 holes and pour water, you can build this.
Materials

Essentials:
- 1 five-gallon bucket (food-grade preferred)
- 1 small container (like an empty coffee grounds tub, sour cream container, or nursery pot with holes)
- 1 old t-shirt or landscape fabric
- 1-inch PVC pipe (about 18–24 inches long)
Tools:
- Drill (¼” or ½” bit)
- Scissors
Where to Get Your Supplies Cheap
Buckets: Ask local bakeries or delis for frosting or pickle buckets — they’re food-safe and often free. If needed, grab food-grade ones at Walmart, Lowe’s, or Home Depot.
PVC pipe: A single $5 stick from the plumbing aisle can make multiple fill tubes.
Wicking cup: Reuse anything small, sturdy, and plastic — think Folgers coffee can, yogurt tub, sour cream container, or even a dollar store bin. Just make sure it fits inside the bottom of your bucket and has some holes in the bottom.
Step-by-Step: Easiest Build Method
")
Step 1: Drill 2 overflow holes
Drill two ½” holes on the side of the bucket, about 3 inches from the bottom. These let extra water out so roots don’t get waterlogged.
Step 2: Prep your wicking container
Take your small container (coffee tub, etc.) and drill a few holes in the bottom if it doesn’t already have them. Wrap it in landscape fabric or an old t-shirt to keep soil out but let water through.
Step 3: Drop it in
Place the wicking container directly in the center bottom of the bucket. This will act like a sponge to pull water up into the soil.
Step 4: Insert the fill tube
Place your PVC pipe along the inside wall of the bucket, reaching down to the base. Cut the bottom of the pipe at an angle so water can flow in easily.
Step 5: Add your soil mix
First, pack the wicking container tightly with moist potting mix. Then fill the rest of the bucket with more potting mix, stopping about 2 inches from the top. Keep it loose but settled.
Step 6: Fill the reservoir
Pour water into the PVC pipe until it trickles out the overflow holes. That means your bucket’s water tank is full. You’re done.
Pro Tip
For the soil, use a blend of 40% peat or coconut coir, 40% compost, and 20% perlite. Avoid garden soil — it gets dense and ruins the wicking action. The right soil structure is what makes your 5-gallon bucket garden watering system efficient — it holds moisture evenly while keeping roots healthy.
There’s lots of ways to do this, all use the same principles. Here’s an excellent example of how to do this using an internal container within the 5-gallon bucket
Fill It. Test It. Trust It.
Fill your bucket with high-quality potting mix — not garden soil. Moisten as you go to remove air pockets. Water thoroughly from above the first time to help activate the wicking system.
Then fill the reservoir via the PVC tube until water spills from the overflow holes. You’ve got about 2 gallons of storage — good for 5–7 days, depending on weather and plant type.
After 24 hours, the top of the soil should feel slightly moist. If it’s dry, your wicking chamber may need better soil contact. If soggy, check your drainage and plant selection.
Once you’ve seen this self-watering 5-gallon bucket in action, you’ll understand why so many gardeners never go back to daily watering.
Common Mistakes (and How to Avoid Them)
Wrong Soil Mix – Basic potting soil compacts and holds too much water. Use:
- 40% peat moss or coco coir
- 40% compost
- 20% perlite
This creates the right balance of drainage and moisture retention for consistent wicking.
No Overflow Holes – Always drill 3″ up from the bottom. Mark the level on your fill tube with permanent marker so you always know when to stop filling.
Mosquito Breeding – Add a few drops of vegetable oil to the reservoir or toss in a quarter of a mosquito dunk monthly. Keeps larvae from hatching without harming plants.
Wrong Plants – Some crops hate “wet feet.” Avoid rosemary, thyme, and succulents. Great choices include:
- Tomatoes (especially determinate)
- Peppers
- Eggplant
- Leafy greens like lettuce and spinach
- Cucumbers with a trellis
Seasonal Blind Spots – In hot weather, tomatoes might drain the reservoir in 3 days. In spring, it may last 10. Build the habit of checking your reservoir twice a week.
Loose Wick Chamber – If your wick pipe isn’t tightly packed with soil, water won’t travel up efficiently. Press that mix down when filling.
What to Do This Week
Day 1–2: Gather your materials. Start local — bakeries, restaurants, and discount hardware stores can save you big money.
Day 3: Build your first bucket. Give yourself two kid-free hours. Follow the steps exactly — this isn’t the place for “close enough.”
Day 4: Plant your thirstiest crop. Tomatoes are a great test. Water thoroughly through both the top and fill tube. Record the date.
Day 5–7: Observe but don’t interfere. Stick your finger in the soil daily. Note how long the moisture lasts before needing to refill.
Optional Day 7+: If the test went well, start prepping your next 2–3 buckets. Or share your win with a friend who’s struggling — one bucket can change everything.
One self-watering 5-gallon bucket is all it takes to start simplifying your garden routine — and finally stay ahead on watering.
The Bottom Line
Self-watering 5-gallon bucket systems don’t just save your plants. They save your sanity.
You don’t need to be more disciplined. You need systems that support your real life.
One build. One bucket. One win.
Let that be your foundation. From that one self-watering 5-gallon bucket, your garden — and your confidence — will grow.
FAQ
External Resources
- DIY Self-Watering Planter – University of Illinois Extension (PDF)
Step-by-step instructions for creating a DIY self-watering planter using a 5-gallon bucket, coffee can wick chamber, and PVC fill tube. Reinforces the exact self-watering bucket system structure explained in this blog. - Make Your Own Self-Watering Container – University of Illinois Extension (PDF)
Another guide from Illinois Extension detailing how to build self-watering containers using buckets, wicks, and overflow drainage. Validates the bucket garden watering system described here. - Wick Irrigation, a Water Conserving Irrigation Technique for Small Holding Farmers (PDF)
Explains the science of wick irrigation and how simple wick-based self-watering systems conserve water in small container gardens. Supports the idea that a basic wicking chamber can drive consistent 5-gallon bucket garden watering. - Potting Mixes for Certified Organic Production – National Center for Appropriate Technology (ATTRA)
Offers professional advice for organic potting mix composition. Highlights the ideal blend of peat, compost, and perlite for self-watering 5-gallon bucket systems that need airflow, drainage, and moisture retention. - Homemade Potting Mix – University of Florida IFAS Extension
Details DIY container gardening soil blends that optimize moisture retention and wicking efficiency in buckets. Supports the mix used in this blog: 40% coir/peat, 40% compost, 20% perlite. - Water-Smart Landscapes Start With WaterSense – U.S. EPA (PDF)
EPA’s official guidance on water-efficient gardening, including container setups and grouping plants by watering needs. Backs the use of self-watering systems as smart water-saving tools. - Stormwater Structures & Mosquitoes – U.S. EPA (PDF)
Covers how to prevent mosquitoes in self-watering bucket garden systems, including use of mosquito dunks and oil barriers. Supports best practices for reservoir maintenance in bucket gardening.