The Simplest 5-Gallon Bucket Setup Guide (15-Minute Prep)
Start a 5-gallon bucket garden this week. You don’t need to be perfect, you just need to start. You’ll always have tons of interruptions and other things taking up your time – and thats fine, thats life. But if you want a really quick win that could start the snowball that leads to your dream garden, this is the exact 5-gallon bucket setup guide you need.
The Gardening App that Thinks Ahead,
so you’re never behind
Never forget another gardening task or get blindsided by bad weather and pests again. Growing made Easy

Your 15-Minute Bucket Prep Plan (At a Glance)
- Step 1 – Find 3–5 food-grade 5-gallon buckets
- Step 2 – Drill 5 drainage holes (dice pattern)
- Step 3 – Clean the buckets (a quick rinse or deeper scrub if needed)
- Step 4 – Add optional upgrades (overflow holes, elevation blocks, GroBucket insert)
- Step 5 – Place them smartly around your yard or patio
- Step 6 – Label your buckets and group by water needs
- Step 7 – Add a simple weekly routine to keep it easy
You might feel like you should research more, watch a few YouTube videos, scroll Instagram for ideas, or figure out the “right” way to do it.
Don’t.
Just get started. Zero experience required.
This guide gives you exactly what you need: which buckets to use, where to get them cheap (or free), and how to prep them in 15 minutes.
No Pinterest perfection. No overthinking.
Step 1: Choose the Right Bucket to Start a 5-Gallon Bucket Garden (And Where to Get It Cheap or Free)
Don’t just grab any bucket – a few key details make all the difference.
Only Three Things Matter
- 5-gallon capacity – Anything smaller dries out too fast. Anything bigger is harder to move.
- Food-grade plastic – Look for recycle codes 1,2,4, or 5.
- Solid, intact handle – You’ll want to move them later
Forget everything else. Fancy or pretty doesn’t matter. These three things do
Where to Get Buckets
Free sources that actually work:
- Local bakeries — frosting buckets are food-grade and usually tossed daily
- Delis and restaurants — pickle buckets clean up well and are often free
- Craigslist or Facebook Marketplace — search “free buckets” weekly
Cheap sources when you need them now:
- Walmart — white food-grade buckets with lids typically run $5–7
- Amazon — offers multi-packs of BPA-free buckets; higher price, but convenient
- Home Depot / Lowe’s — check for white buckets (not orange or blue)
- Rural King/Tractor Supply – Lots of options, all shapes and sizes
Avoid These
- Decorative buckets without drainage (form over function fails)
- Used chemical buckets (even “cleaned” ones risk contamination)
- Buckets smaller than 5 gallons (constant watering nightmare)
- Expensive “garden specific” buckets (same plastic, triple the price)
The goal isn’t perfection or beauty (yet) – its just getting started. A free frosting bucket grows tomatoes just as well as a $40 designer planter.
Step 2: Drill Drainage Holes (The Right Way – Fast)
Why It Matters:
Poor drainage kills more container plants than any pest or disease (and it smells horrible).
But getting it right? Takes five minutes.
What You Need:
- A power drill (Or a hammer and big nail if you’re in survival mode)
- A ½-inch drill bit (It’s about the width of your finger — fewer, bigger holes)
— or —
A ¼-inch bit (Pencil width — add a couple extra of these smaller holes) - Tape Measure (If you want. Nothing wrong with eyeballing it)

The Hole Pattern:
- Flip the bucket upside down
- Drill one hole in the center
- Drill four more around it — like the 5 dots on a dice (or like 8-10 if doing smaller holes)
- Space them a few inches apart — doesn’t need to be perfect

That’s it. Five good holes = plenty of drainage.
(Yes, some people do 20 — but this pattern works great and keeps the bucket strong.)
Step 3: Clean Your Buckets (Even If They’re New)
Especially for used buckets, a quick clean keeps you from running into problems later.
For food-grade buckets: Honestly, just rinse the thing out with a little soap and make sure there’s no gunk in there. Manufacturing, time in warehouses, and time on the shelf can still leave chemicals or rodent droppings in your ‘new’ buckets.
For extra sanitizing (like restaurant or pickle buckets): Wash it like a dish you’ll have your dog eat out of.
“Yeah, kind of clean enough – I guess” is all you’re looking for.
That’s it. Just soap, water, and a little sunlight.
Related Guides
Step 4: Add Smart Upgrades (Optional but Helpful)
These aren’t necessary — but they do make things smoother, especially long-term.
Overflow holes (for rainy climates)
- Drill 2–3 holes on the sides, about 2 inches from the bottom
- Keeps buckets from waterlogging during heavy rain
- Super helpful if your buckets sit on concrete, patios, or other solid surfaces
Elevation blocks
- Set buckets on bricks, pavers, or scrap wood
- Improves airflow underneath
- Helps deter bugs, slugs, and rotting from trapped moisture
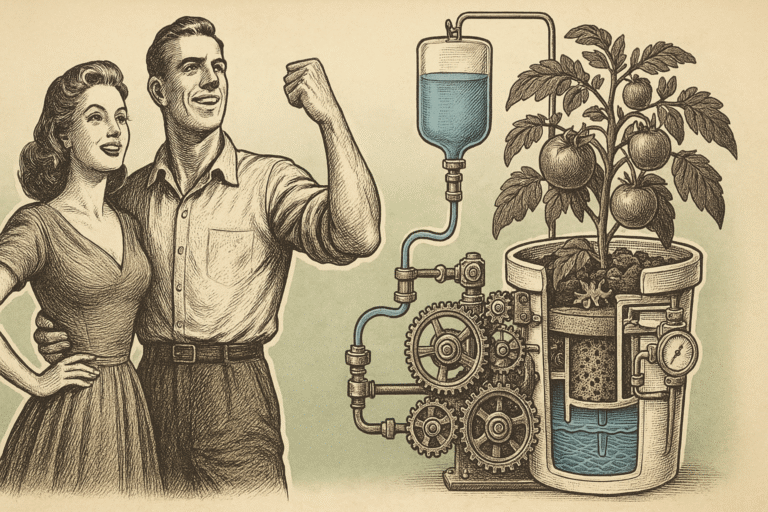
GroBucket Insert (Amazon upgrade)
GroBucket Amazon Link
- Perfect for if you forget to water – or just don’t want to every day
- Turns any 5-gallon bucket into a self-watering container
- Holds a built-in water reservoir with a wicking system
- Perfect if you forget to water — or just don’t want to every day
Step 5: Place Buckets Where They’ll Actually Work for Your Life
Your buckets are prepped. But success comes from strategic placement and systems, not just proper drainage holes.
Design for Efficiency (Not Just Sun Exposure)
Most people scatter buckets and end up zig-zagging across the yard. Avoid that from day one.

The Kitchen Garden Zone:
- Place herb buckets nearest the kitchen door
- You’ll actually use herbs when they’re 10 steps away
- Morning coffee + herb snipping = peaceful routine
The Heavy Hitter Station:
- Group tomatoes, peppers, larger plants together
- Near the hose for easy watering
- Against south-facing walls for heat-loving plants
The Kid Zone:
- Their buckets at their height
- Near play areas for easy checking
- Cherry tomatoes and snap peas for immediate rewards
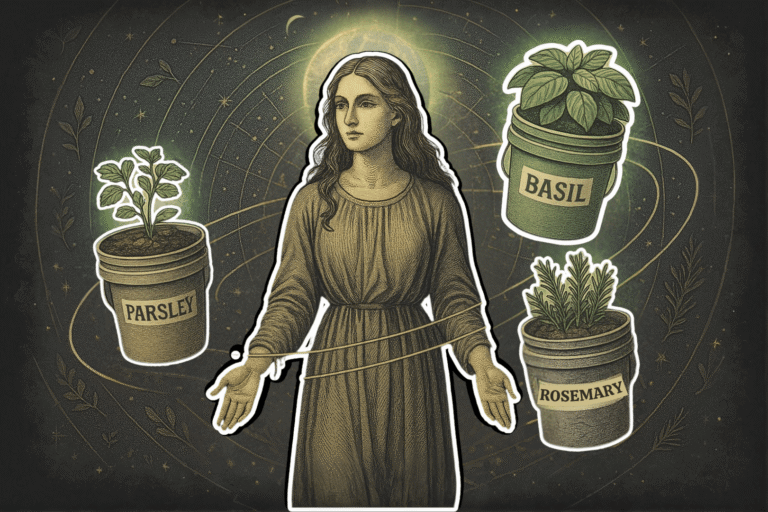
Step 6: Label, Group, and Water Smarter (Without Extra Work)
You might think you’ll remember the plant – you won’t. Even if you just buy one, you won’t remember exactly which grower brand or variety you’re growing.
Whether you love or hate the plant by the end of the season, you’ll definitely want to know exactly what kind it is.
Simple Labeling Ideas
- Sharpie directly on the bucket = fastest
- Popsicle sticks if you want to change labels (or bulk labels)
- Let kids draw their own and tape it on (laminate if you can)
Group by Watering Needs
- Keep thirsty plants (like tomatoes) together
- Herbs and drought-tolerant plants in another zone
- That way you can water in one pass, not run around in circles
Step 7: Build a Simple Weekly Routine You’ll Actually Follow for Your 5-Gallon Bucket Setup
Build Once. Maintain Easy.
Fit garden care into your rhythm. Example:
Monday morning bucket check (while kids eat breakfast):
- Quick glance for wilting, bugs, or issues
- See which buckets need watering
- Pull any big weeds
Thursday evening water session (kids “help” with small watering cans):
- Deep water everything
- Check for pests as you water
- Harvest any ripe veggies
Sunday harvest basket (after church or lunch prep):
- Pick herbs, tomatoes, or greens
- Let kids pick from their own buckets
- Cook with it — even a little win builds momentum
Systems beat motivation every time. When bucket care fits your existing routine, the garden thrives without overwhelming your life.
This Week’s Action Plan (Follow This, and You’re Set)
You don’t need a full weekend. Just a few focused chunks of time this week. Here’s the plan:
🗓 Day 1–2: Source Your Buckets
- Call 3 local bakeries during morning naptime — ask for frosting buckets
- If no luck, hit Home Depot or Walmart and grab 3–5 buckets
- Don’t overthink it — just get what you can and move on
🛠 Day 3–4: Drill + Clean
- While the kids play outside, drill your 5 drainage holes per bucket
- Rinse them out (or scrub a little harder if they’re stinky)
- Let them dry in the sun while you do something else
📍 Day 5–6: Place + Label
- Walk the yard with your buckets
- Place them near the kitchen, hose, or play zone
- Label them and group thirsty plants together
🎉 Day 7: Celebrate Progress
- You’ve got your 5-gallon bucket setup complete — clean, drilled, and placed. You’re ahead of 95% of people.
- Let the kids decorate one
- Tell your husband. Text your mom. Snap a pic. You started.
Next week, we’ll fill them with the perfect soil mix. But for now? You did it.
Your bucket garden is officially underway.
FAQ
External Resources
- UF/IFAS Extension: Container Gardening (PDF):
Supports using buckets—with drainage holes—for vegetable gardening. - UF/IFAS Broward Self-Watering Bucket Garden (PDF):
Demonstrates how to start a 5-gallon bucket garden with practical construction, watering tips, and plant selection advice, including the importance of proper planting mix and watering. - UF/IFAS Gardening Solutions: Container Gardening:
Emphasizes container size (5 gallons for most edibles) and mandatory drainage holes. - UF/IFAS Gardening Solutions: Growing Vegetables in Containers:
“Give your plants water until the excess runs out the bottom of the pot; it will help prevent problems caused by salt buildup and discourage root rot.”
Stresses the need for bottom drainage when growing vegetables, supporting the claim about drilling holes. - UF/IFAS Extension: Hydroponic Bucket Garden:
“A simple garden can be constructed with a 5-Gallon bucket, polystyrene foam board insulation, and ‘net pots’…Leaf lettuce and herbs are suitable plants for growing in a floating garden and will grow well indoors as long as there is plenty of natural light available.”
Shows versatility of 5-gallon buckets for both soil and non-soil growing. - Oregon State University Extension (“Is it safe to grow food in regular 5-gallon buckets (Not food grade)?”):
Recommends using food-grade buckets for vegetable gardening, noting “food grade” plastic is considered safest; non-food-grade buckets may break down faster and possibly leach compounds, especially if exposed to sunlight. - YouTube: Are You Growing Toxic Food in the Wrong Kind of Plastic Containers?:
Explains which plastics are food-safe for gardening (codes 1, 2, 4, and 5) and why; shows that many hardware store 5-gallon buckets are HDPE #2 and food safe, but cautions about longevity and UV breakdown.